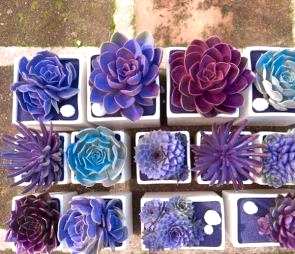
Do you need to find out about straightforward and inexpensive DIY succulents? Succulents have gotten widespread not solely of their...
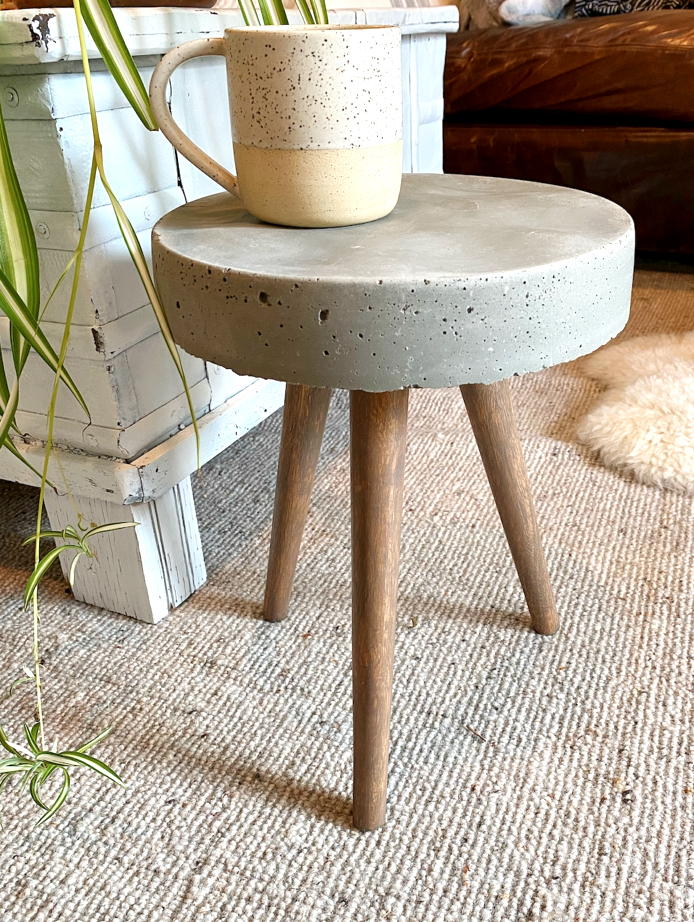


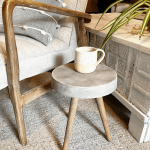
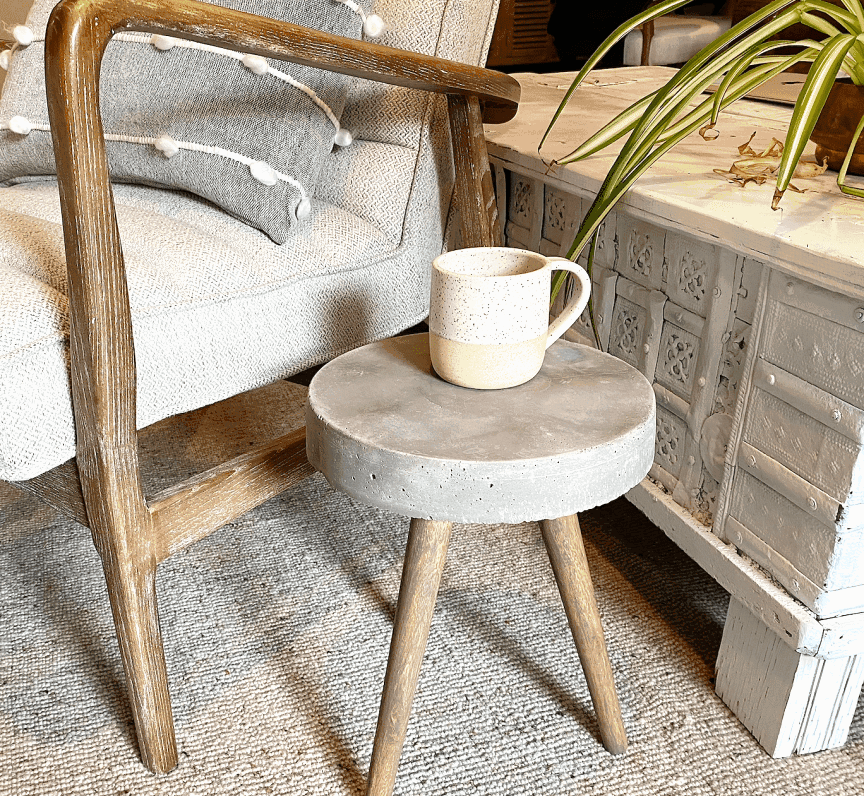
I’m so excited to share this DIY undertaking with you all! This DIY concrete aspect desk is the proper industrial/mid century impressed accent desk to your house. And the very best half? It’s really easy to make! Comply with this step-by-step tutorial to make your very personal concrete aspect desk.
Heres all the pieces you’ll must make this concrete aspect desk:
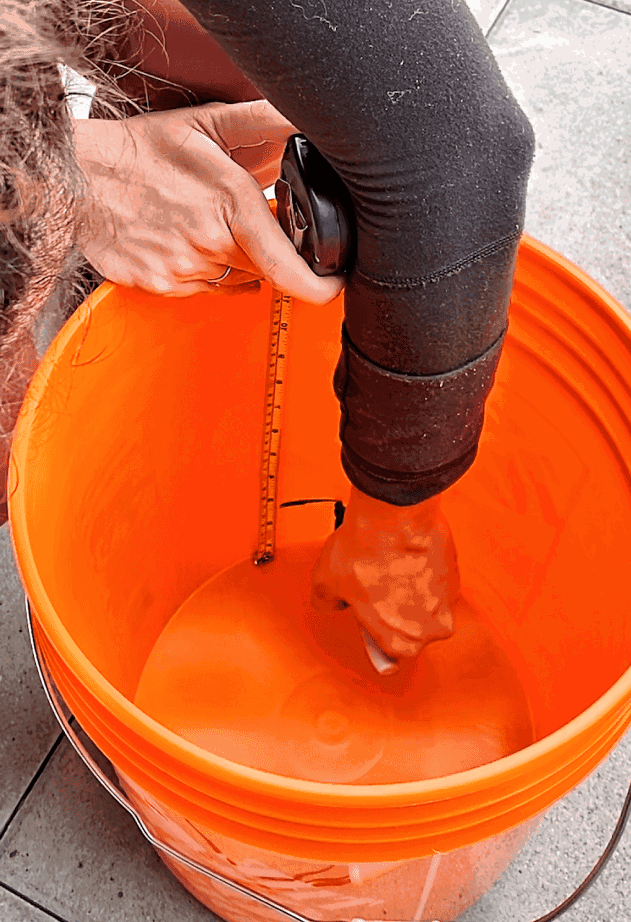
Step one in making this DIY concrete aspect desk is prepping your buckets! You’ll want 2 multi objective buckets – I used these ones from The Home Depot. Utilizing the tape measure and pen, mark a line 2″ on the within of the bucket. This can be your information so you know the way a lot to fill the bucket with concrete.
It’s actually necessary to pick out your multi objective buckets rigorously. Test to verify the underside of the bucket is flat and the form shouldn’t be warped. I discovered this out the onerous means once I found the underside of my buckets have been all warped and wavy. In case you run into this drawback, like I did, you may sand down the desk prime after it’s totally dry.
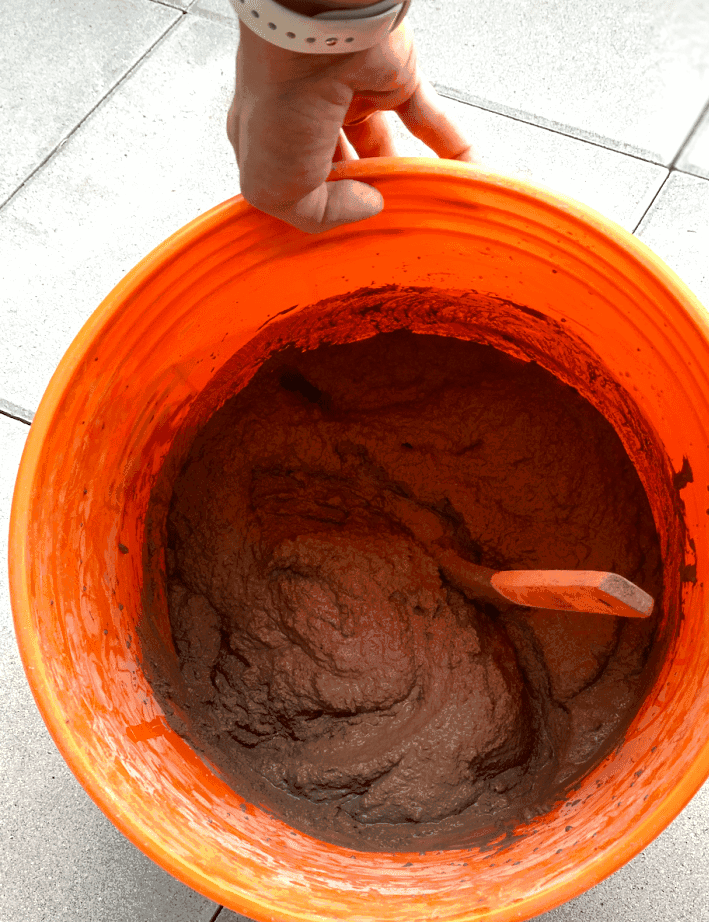
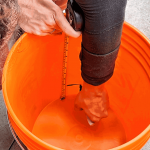
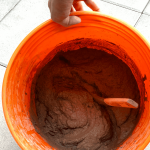
Now onto the enjoyable half, mixing the concrete! Even by following the directions on the cement bag, mixing the concrete is a little bit of a guessing sport. I counsel beginning small and work your means up by including extra concrete and water as wanted. Combine the concrete till you could have a fair consistency that holds its form.
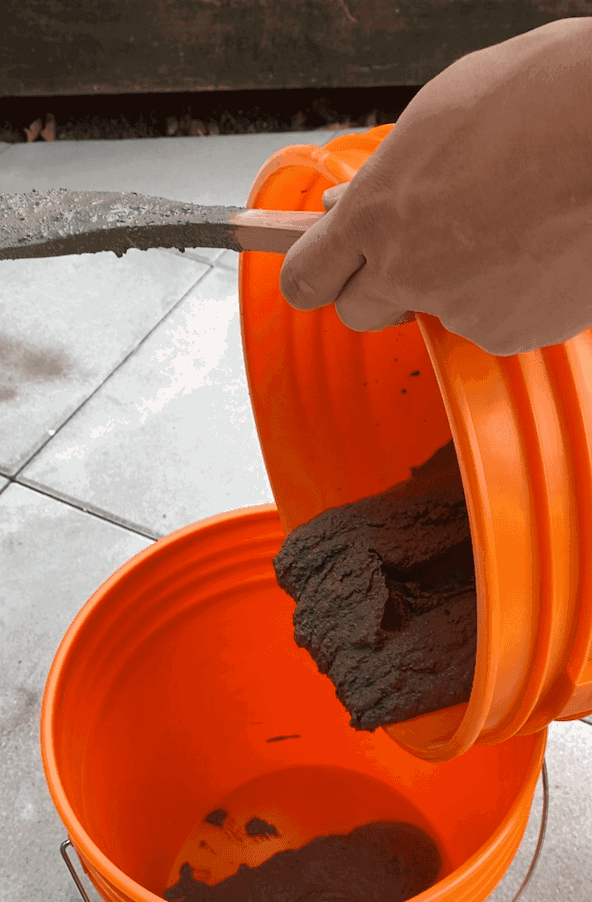
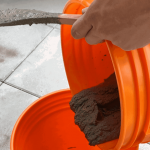
Subsequent you’ll switch the combined concrete into your clear bucket. Add the concrete slowly up till the two″ marked line. As soon as the concrete is crammed to the road, faucet the perimeters of the bucket to take away air bubbles.
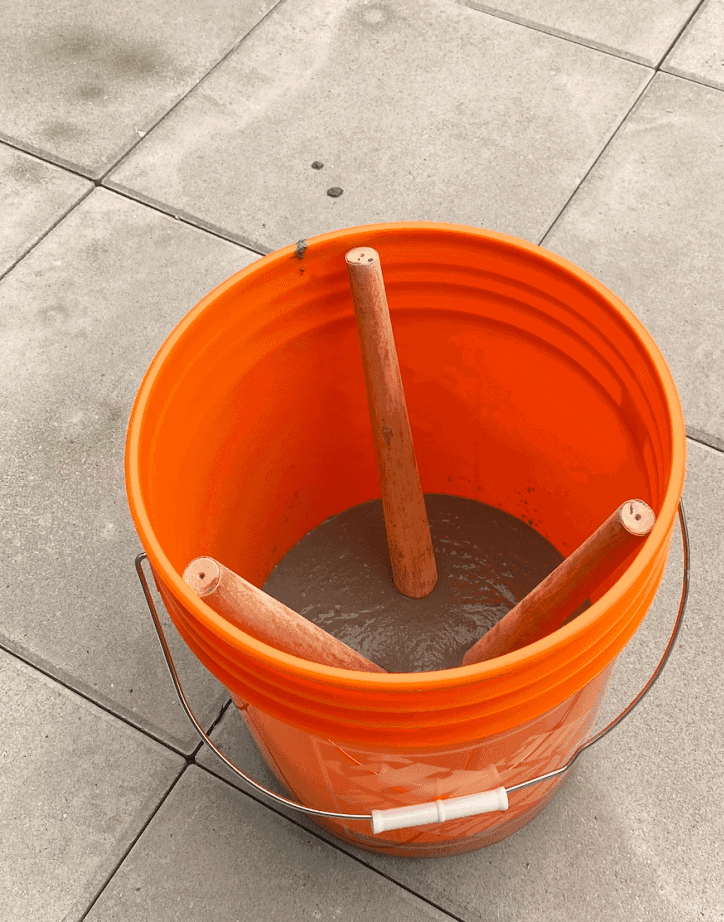
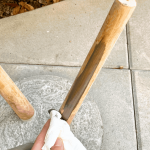
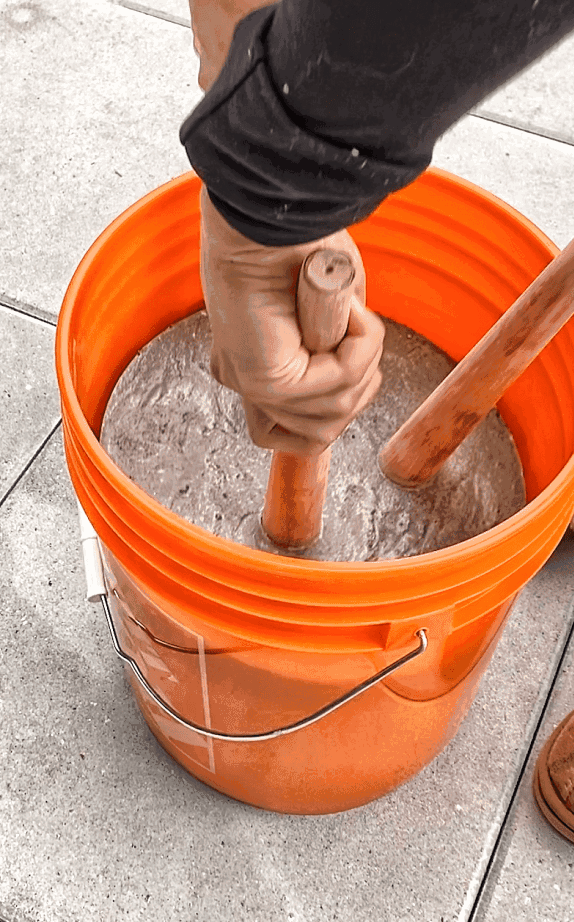
Subsequent you’ll insert the wooden aspect desk legs into the moist concrete. I used these wood furniture legs and so they labored nice! Gently jiggle the legs to take away any air pockets. Be sure the legs are spaced equal distance aside. Set the bucket apart for 1-2 days and permit the concrete to harden.
After 1-2 days it’s protected to take away the desk from the bucket mould. Gently take away the desk from the mould by pulling the legs. Word: The concrete will nonetheless be a bit comfortable so please deal with your new accent desk with care! Go away the desk to dry an extra 2-Three days outdoors the mould.

This step is non-compulsory, however since I used to be going for a mid century really feel I needed to stain my legs a greyish brown colour. I used this oil based wood stain, and I’m so pleased with the way it turned out. Its the proper gray/brown!
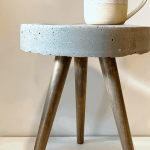
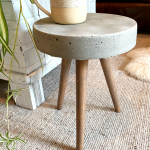
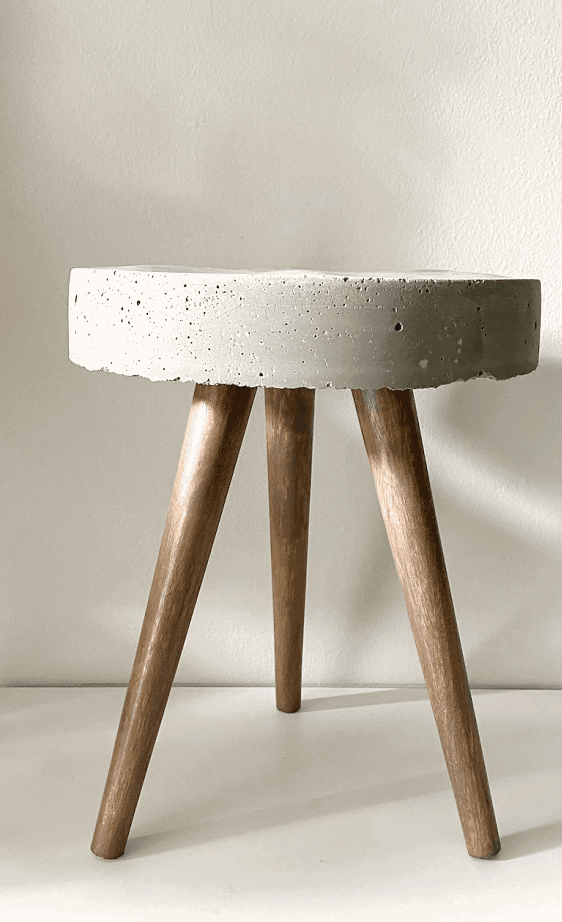
And there you could have it, a brilliant simple rustic DIY concrete aspect desk! Working with concrete isn’t precisely simple, however I really like how this little undertaking turned out. I left the underside fringe of the concrete tough as a result of I believe it provides industrial attraction, however for those who favor a smoother look you may simply sand it down.
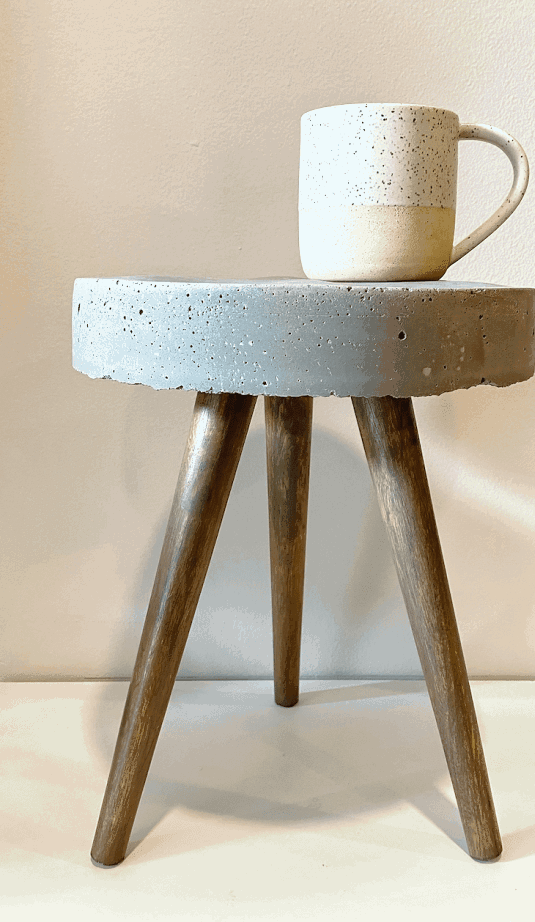
I’ve been itching to strive some concrete DIY tasks and now that I’ve accomplished my first one I can’t wait to strive extra! Keep tuned within the weeks to return for extra nice DIY concrete house decor tasks.